How to Fix a Broken Camping Chair Leg
Comprehensive repair guide: identify damage, gather tools, step-by-step fixes, and know when to replace. Save money and extend your gear's lifespan with these expert techniques.
🪑 Quick assessment: A broken leg doesn't always mean the end of your favorite camping chair. With the right approach, 70% of leg failures can be repaired at home using basic tools. This guide covers everything from bent aluminum to snapped steel frames, plus replacement part sourcing.
Common Types of Leg Damage
Before attempting any repair, you need to accurately diagnose the issue. Most camping chairs use either steel frames (heavier, more durable) or aluminum frames (lightweight, but prone to bending). Understanding the material helps determine the best repair method.
Bends are the easiest to fix if caught early. Cracks and snapped tubing require more involved repairs. Broken rivets are surprisingly common and simple to replace. For deeper insight on material pros and cons, check our guide on Steel vs Aluminum frames.
Step-by-Step Repair Instructions
Safety First & Damage Assessment
Wear work gloves to avoid sharp edges. Inspect the leg to see if it's a clean break, a bend, or a joint failure. Take a photo of the damage — this helps when searching for replacement parts later.
Gather Tools & Materials
Most repairs require basic items. Refer to the tool list below. If you need specific hardware, many local hardware stores carry generic parts that fit standard chair tube diameters (typically 16mm, 19mm, or 22mm).
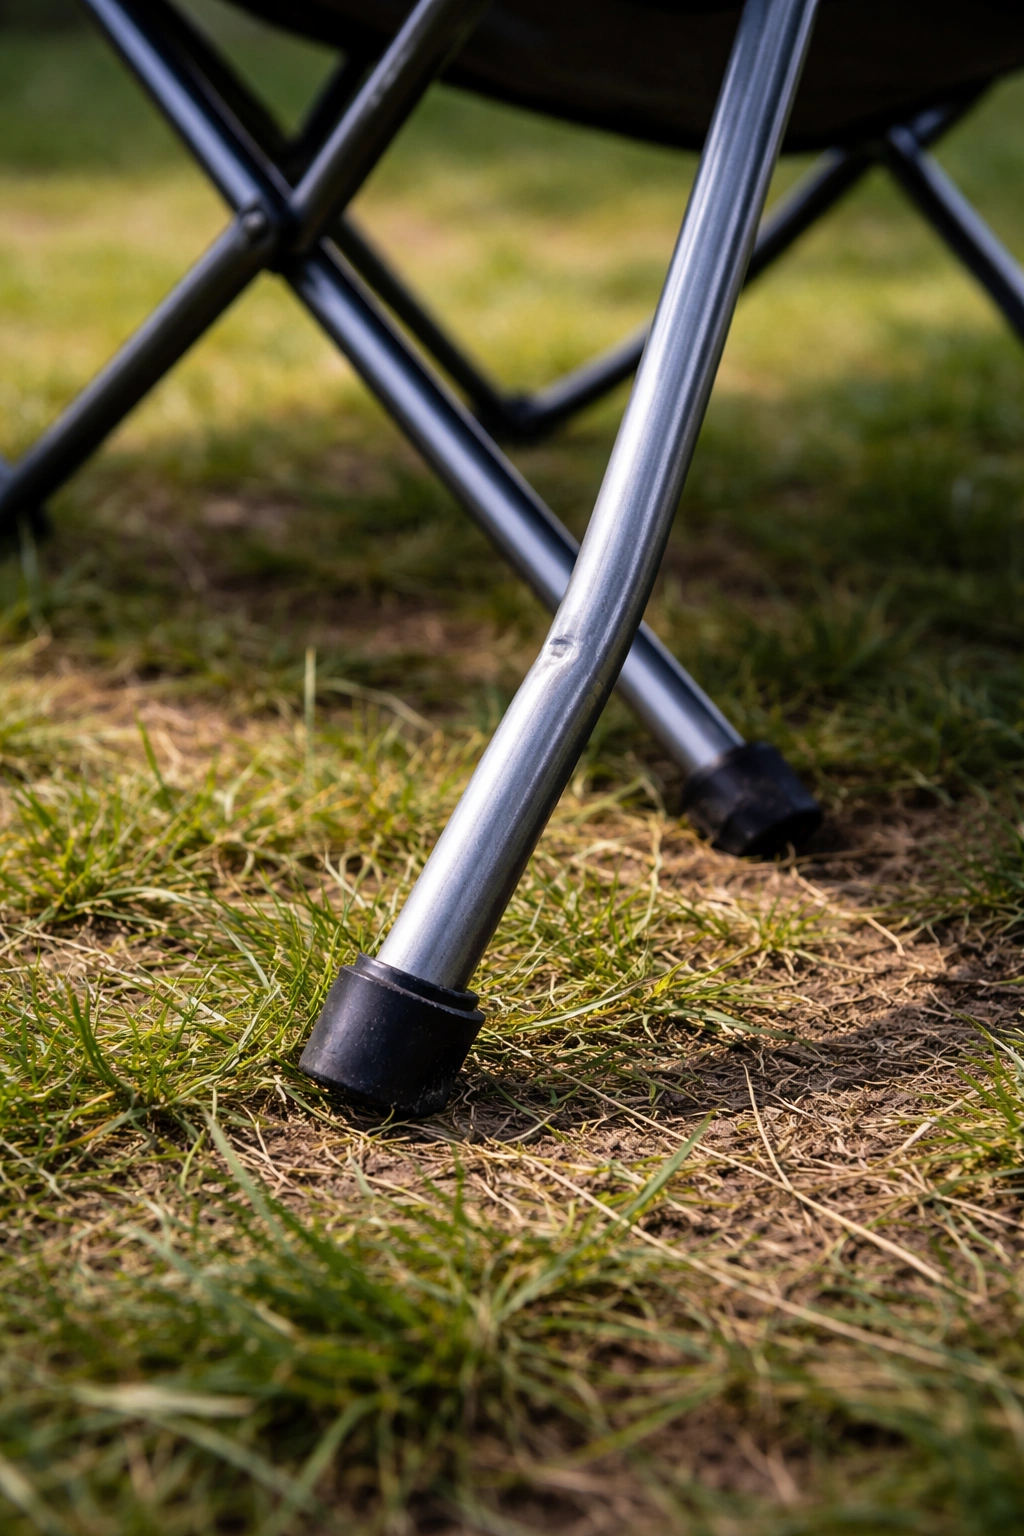
Repairing Bent Aluminum / Steel Legs
For bends: gently tap with a rubber mallet over a solid surface. For aluminum, never hammer aggressively — it can crack. Use a vise to straighten slowly. For steel, you can apply more force. After straightening, reinforce the area with a sleeve repair kit (available on Walmart).
Fixing Broken Welds or Snapped Tubing
If the weld is cracked: you may need a professional welder (especially for steel). For aluminum welding, specialized skills are required. Alternatively, use a tube connector / splint made of steel that fits snugly over the break, secured with epoxy or bolts. This is a reliable DIY fix. Also consider browsing replacement parts for entire leg assemblies.
Replacing Rivets & Joints
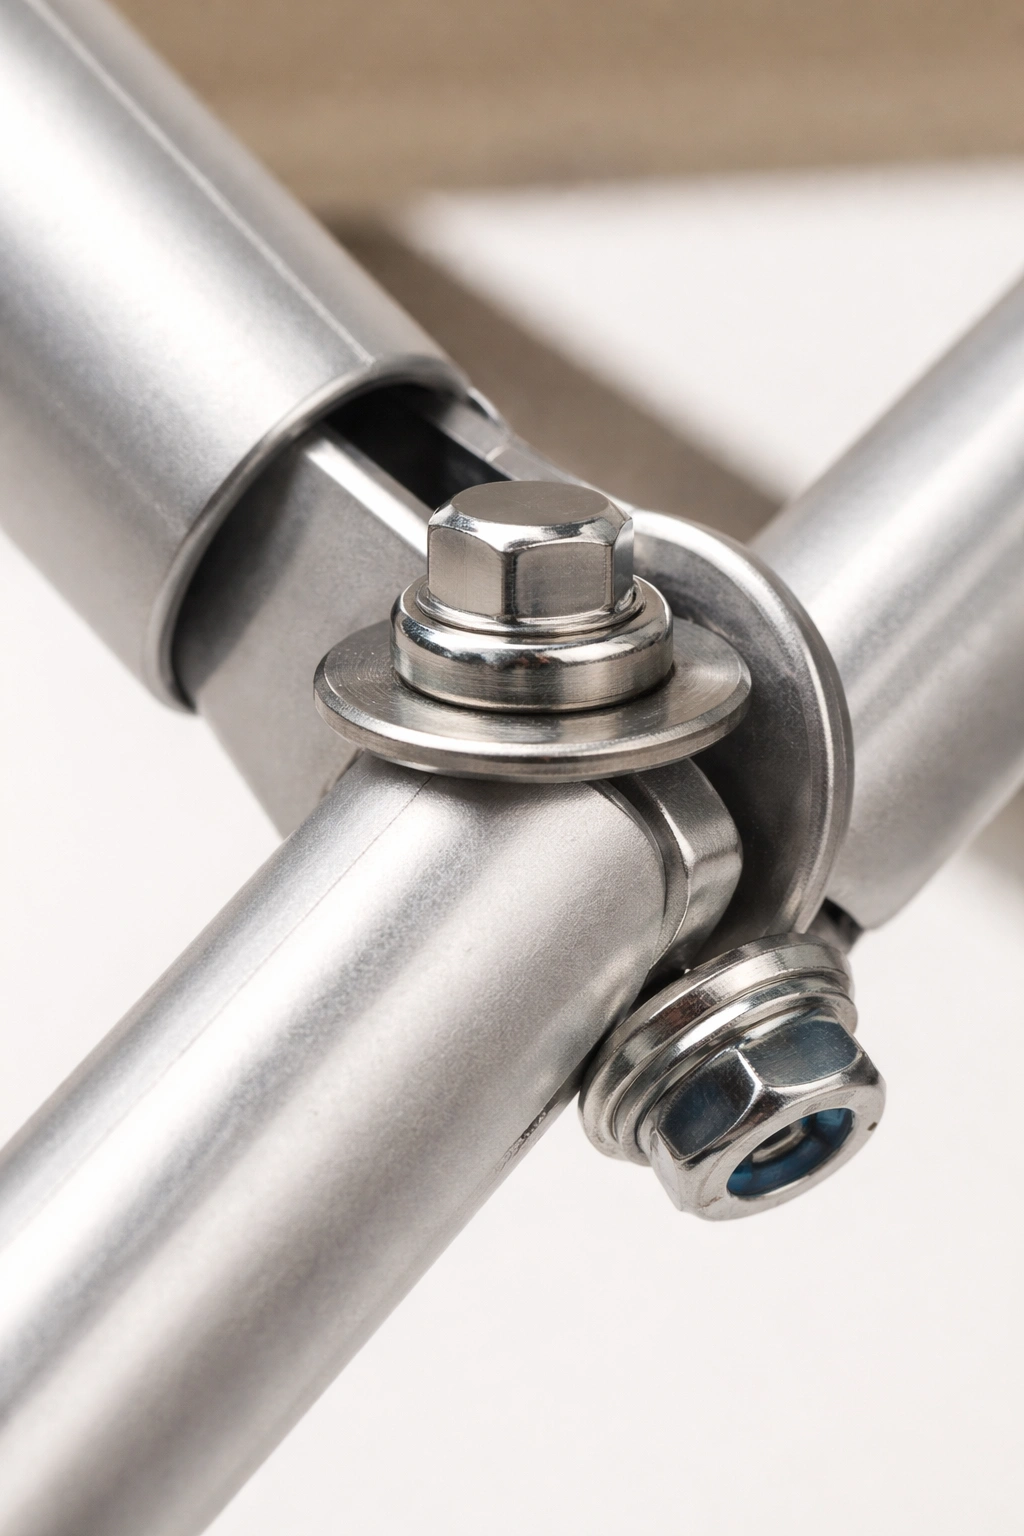
Loose or broken rivets: drill out the old rivet carefully using a metal drill bit. Replace with a stainless steel bolt, washer, and lock nut. Ensure the bolt length doesn't interfere with folding mechanism. This method works for many director-style chairs and folding frames.
Final Test & Load Testing
After repair, test the chair on flat ground. Gradually apply weight and check for stability. Never exceed the original weight capacity. For high-weight users, consider upgrading to a heavy-duty camping chair if damage recurs.
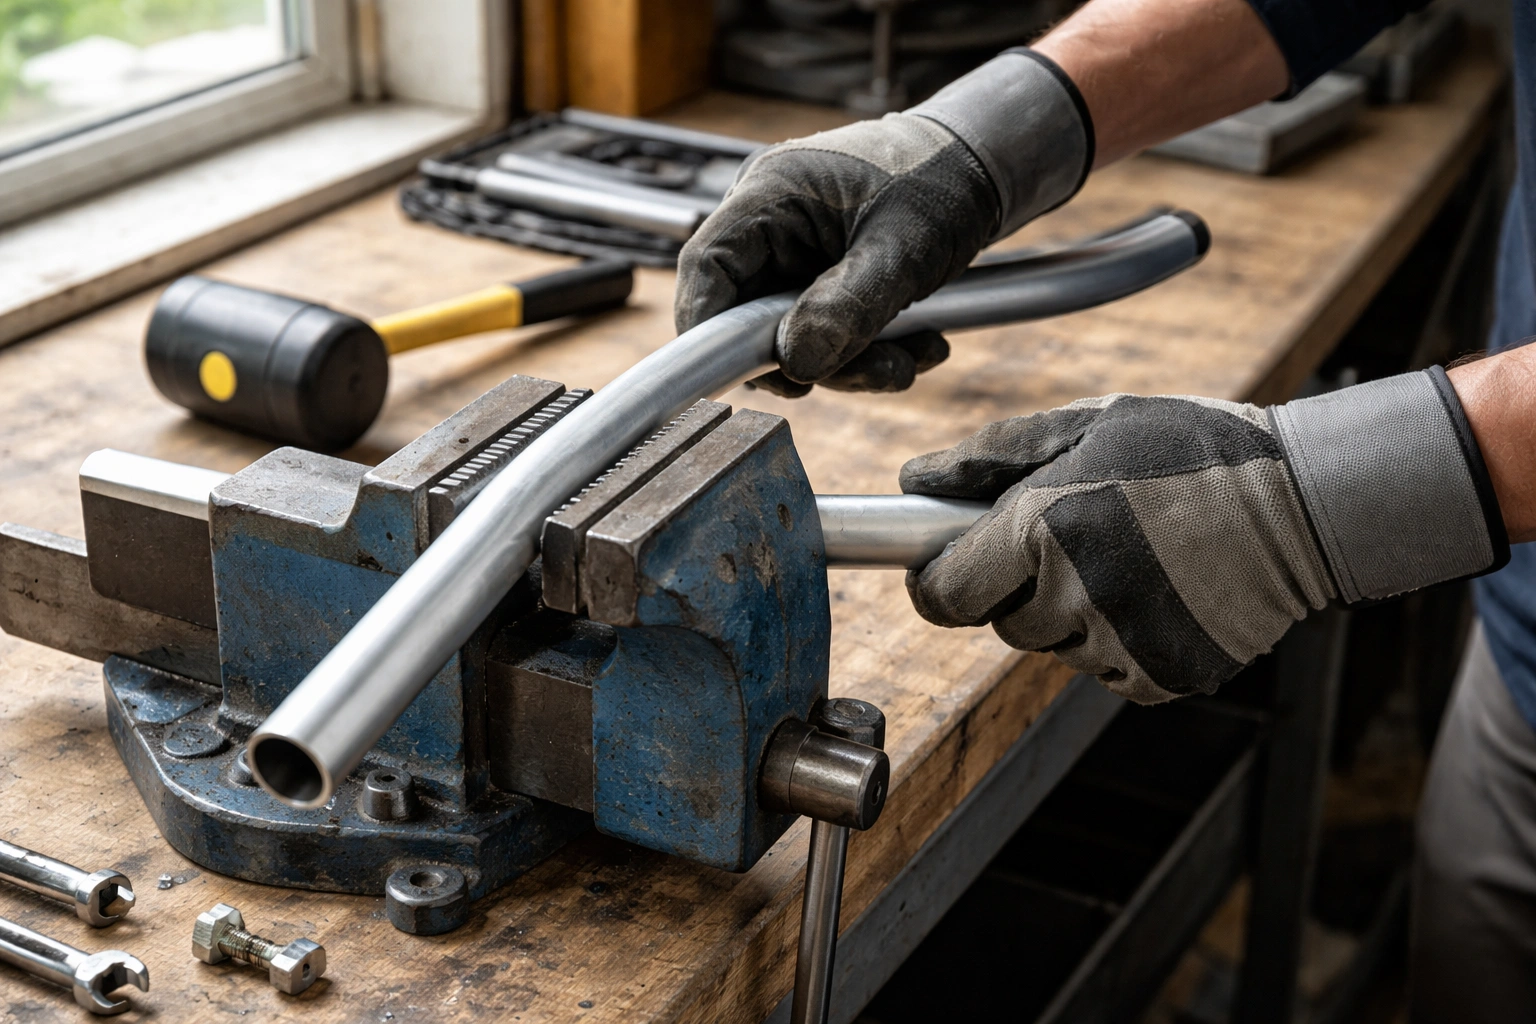
The key to straightening a bent tube is gradual pressure. Clamp the tube in a vise at the point just beyond the bend, then apply slow, steady force with a rubber mallet. Check the alignment frequently by sighting down the tube. It typically takes 3–5 gentle adjustments rather than one forceful hit.
For aluminum specifically, overheating from friction can weaken the metal. If the tube feels warm to the touch, pause and let it cool before continuing. Once straight, always reinforce with a sleeve — a straightened tube is inherently weaker at the bend point.
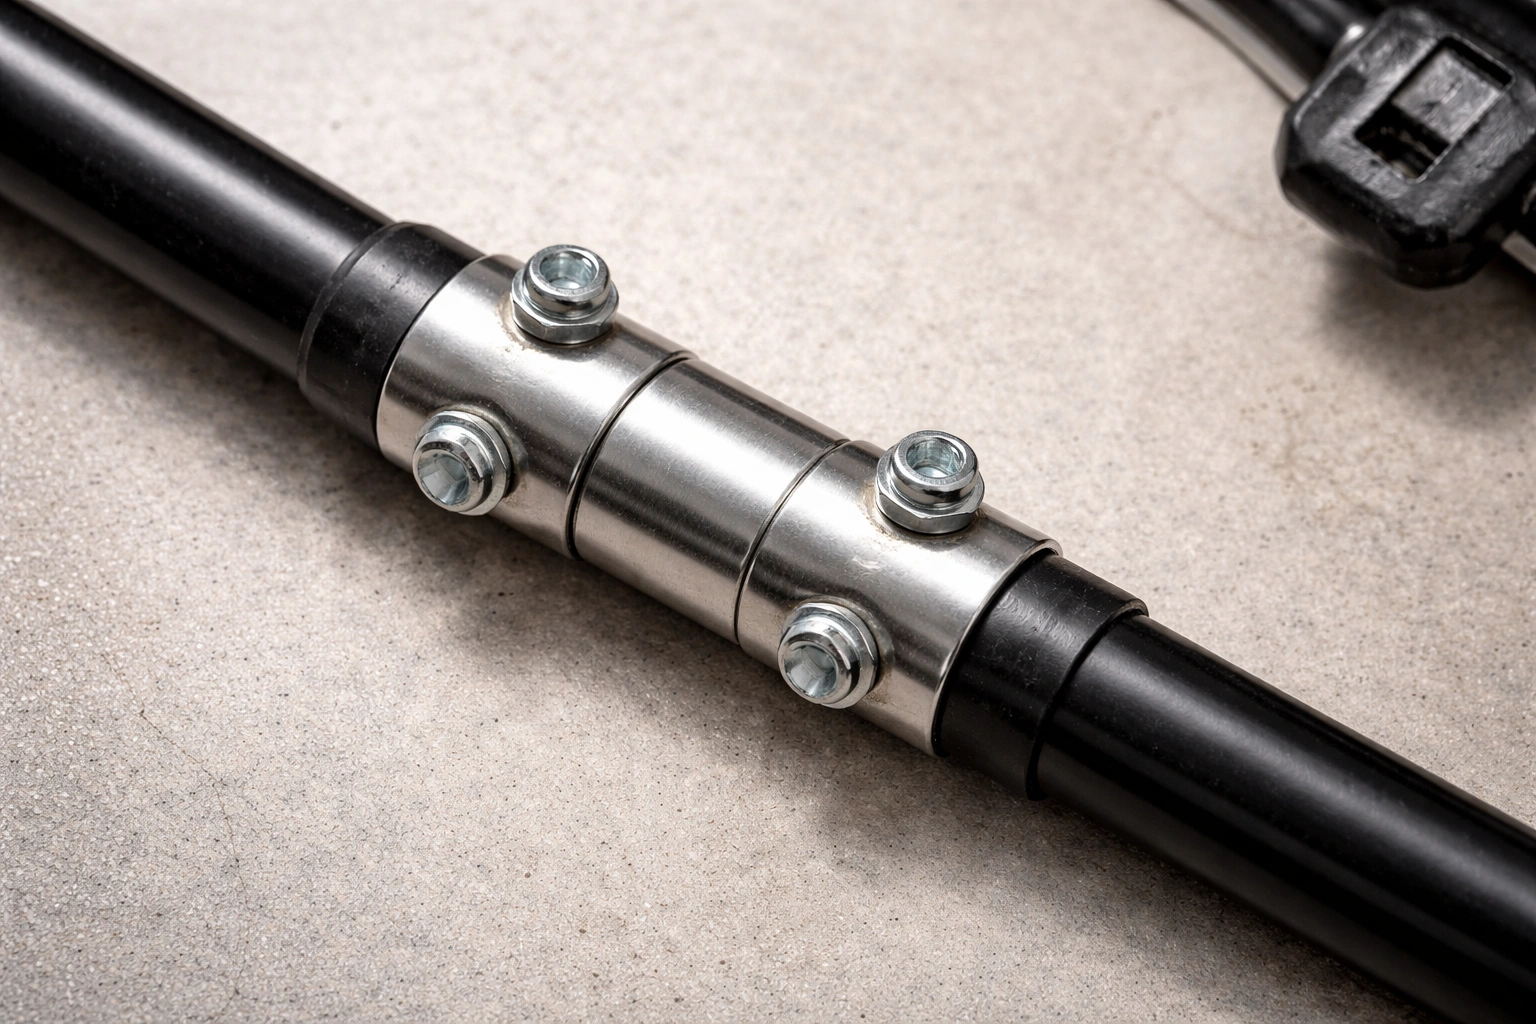
When a tube is snapped or cracked beyond straightening, a mechanical splint is your best DIY option. Choose a steel sleeve with an inner diameter that matches your chair leg's outer diameter (measure with calipers). Slide it over both broken ends, then secure with two bolts on each side through pre-drilled holes.
For extra strength, apply metal epoxy (like JB Weld) inside the sleeve before sliding it on. This creates both a mechanical and chemical bond. The result is often stronger than the original tube — especially effective for aluminum frames that can't be welded at home.
When replacing a rivet with a bolt assembly, always use a lock nut (nylon-insert nut) instead of a standard nut. Vibration from transport and regular use will loosen a standard nut over time. A lock nut stays secure without needing periodic retightening.
Choose a bolt that's just long enough to pass through both tube walls plus the washer — excess length can interfere with the folding mechanism or scratch users. Trim with a hacksaw if needed, then file smooth any sharp threads. This technique works for director chairs, quad chairs, and most scissor-frame designs.
What a Proper Repair Looks Like
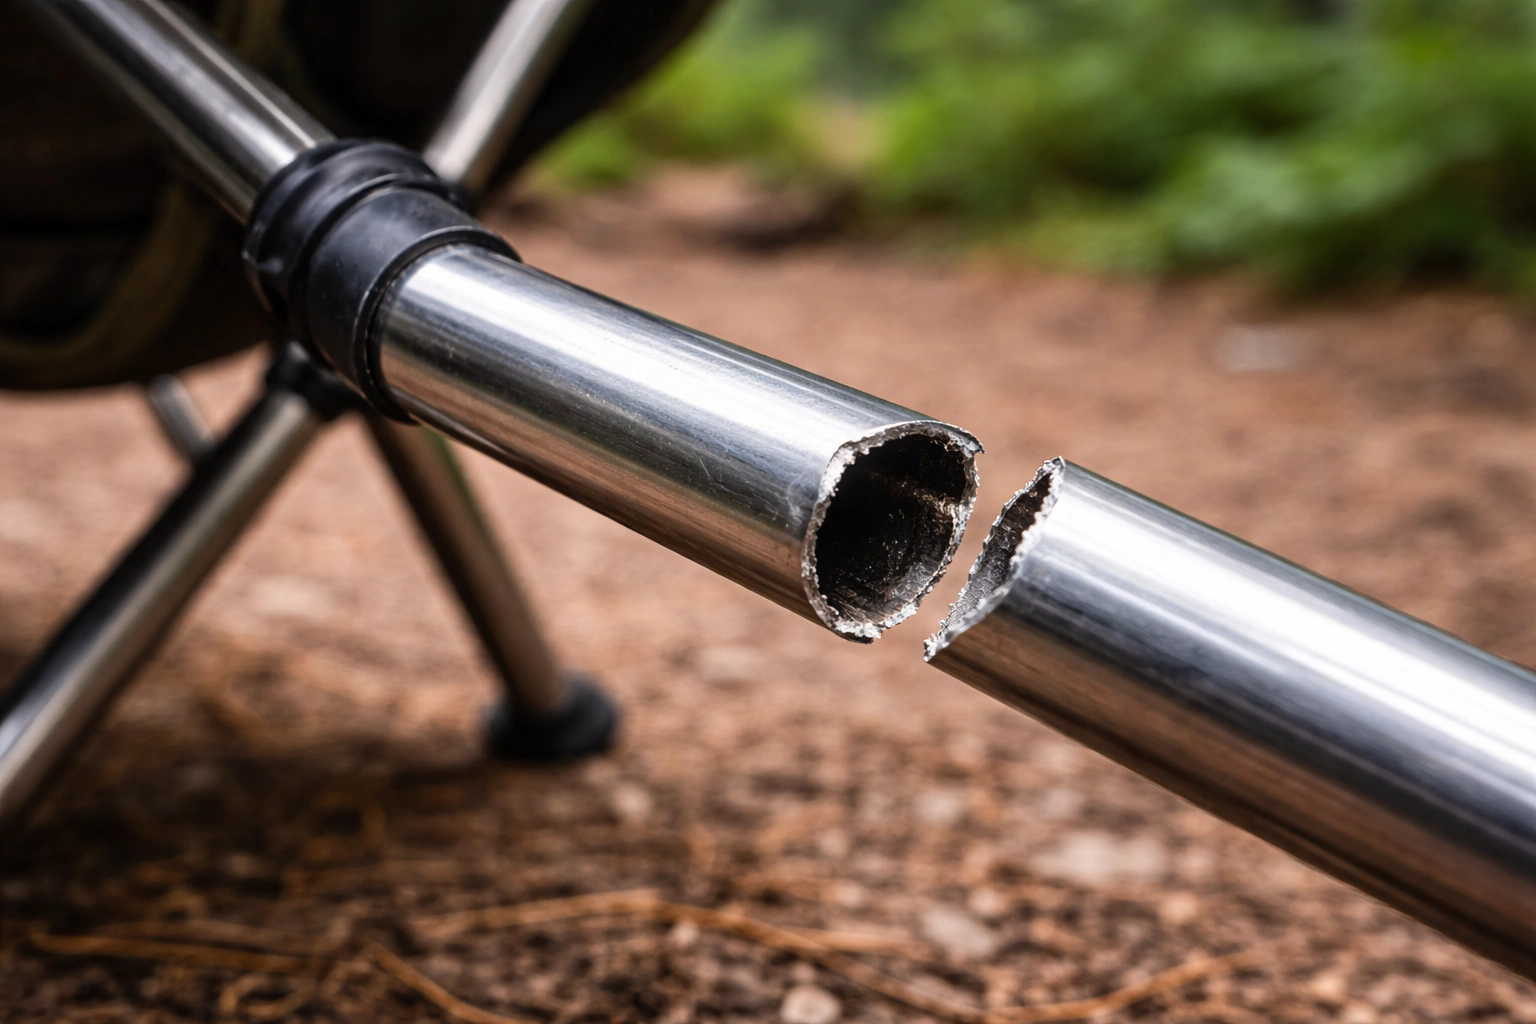
BEFORE — Snapped & Unusable
AFTER — Repaired & Reinforced
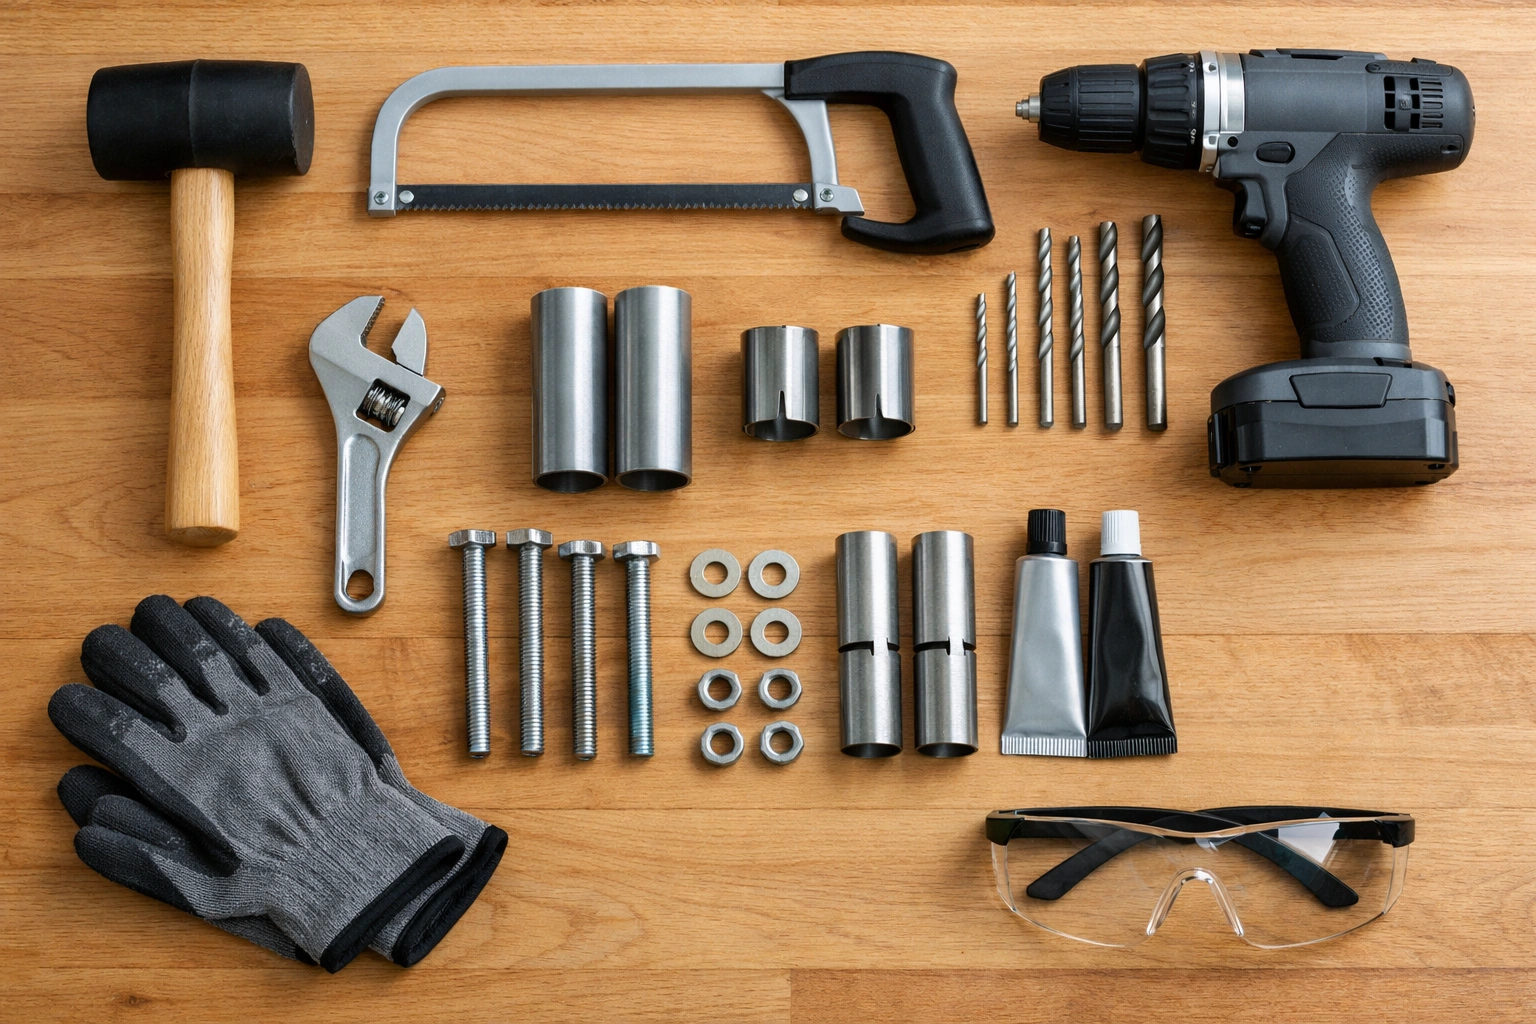
- Rubber mallet or hammer + wood block
- Drill with metal bits (3/16" to 1/4")
- Wrenches or socket set
- Stainless steel bolts, washers, lock nuts (assorted sizes)
- Metal epoxy or JB Weld (for bonding reinforcement)
- Steel tube sleeve / repair splint (measure outer diameter of leg)
- Hacksaw (if you need to cut damaged portion)
- Work gloves and safety glasses
Repair vs. Replace: Making the Right Call
| Situation | Recommendation | Estimated Cost |
|---|---|---|
| Minor bend in steel frame | Repair (straighten + reinforce) | $5 – $15 |
| Cracked weld on steel | Weld or replace leg assembly | $20 – $40 |
| Snapped aluminum near joint | Replace leg or use high-strength sleeve + epoxy | $15 – $30 |
| Multiple broken rivets / joints | Consider replacement (safety concern) | New chair from $40 |
| Chair is over 5 years old with frame fatigue | Replace with newer model (better features) | Varies |
When considering replacement, explore our Top 10 Camping Chairs for 2026. Modern chairs come with improved materials, higher weight capacities, and reinforced frames that prevent leg failures. If you're a frequent camper, investing in a heavy-duty 400lb+ capacity chair ensures longevity and peace of mind.
Prevent Future Leg Breakage
Most leg failures aren't caused by weight alone — they're caused by impact force. Dropping onto a chair creates 2–3x your body weight in sudden load. The difference between a chair lasting 2 years and 10 years often comes down to how you sit down.
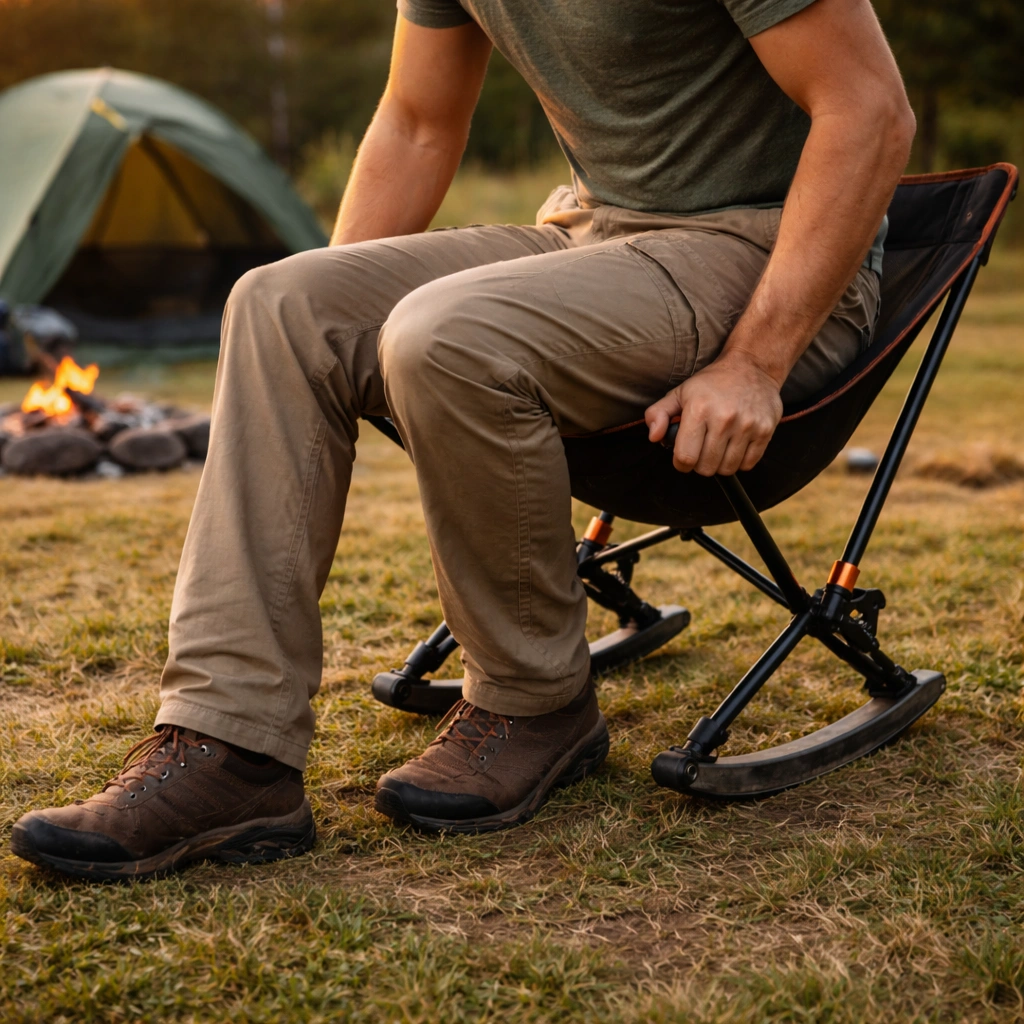
Beyond sitting technique, keep chairs away from campfires (heat weakens aluminum), stay within weight limits, and store properly. Learn more in our winter storage tips and weight capacity guide.
- ✔️ Always sit down gently — avoid "plopping" onto the chair.
- ✔️ Keep chairs away from campfires to prevent heat weakening of aluminum.
- ✔️ Check weight capacity: don't exceed manufacturer limits. Weight capacity guide helps you understand ratings.
- ✔️ Store chairs properly: fold and keep in a dry area, avoid crushing. Learn winter storage tips.
- ✔️ Periodically tighten nuts and bolts, apply lubricant to moving parts.
Frequently Asked Questions
❓ Can I weld a broken aluminum camping chair leg myself?
Aluminum welding requires a TIG welder and expertise; it's not recommended for beginners. Use a mechanical splice or replacement leg instead.
❓ Where can I buy replacement legs for my camping chair?
Many brands offer spare parts directly. Alternatively, universal leg repair kits are available on Amazon and Walmart — measure your tube diameter first.
❓ Is it safe to use a chair after repairing a leg?
Yes, if the repair is solid (e.g., bolt reinforcement or sleeve). Test with gradual weight and check for any wobble. If in doubt, replace the chair.
❓ My chair has a wobbly leg but not broken — what's wrong?
Check the rivet or bolt connecting the leg to the frame. Tighten or replace as mentioned in step 5. See our fix wobbly leg guide for details.
📘 Related Guides: For other common issues, explore our common camping chair problems & fixes guide or learn how to replace torn fabric. Also see what to do if your chair won't fold. Keeping your gear in top shape ensures many more trips around the campfire.


